Throughout this interesting article we show you in detail How to build a network cable step by step in an easy, fast and simple way ?. These types of cables are the ones that carry the Internet to any corner of our house or simply make the connection with a better quality one.
Build a network cable
Network cable is called the splice cable that allows a physical component to communicate, which can connect different computers or other computer equipment. Of course we can also use Wi-Fi technology to establish a home network between computers, but the range of the latter can be a problem. If the network connection is through Ethernet, we must also buy certain devices that we can already use. On the same motherboard as the PC.
Can we make our own cables?
When evaluating the problems that we could find when carrying out a home network through wi-fi, if we choose to use a cabling system over Ethernet. So the deciding factor in savings when doing the job is making our own network cable. We will achieve it the goal is to make your implementation cost much lower. The answer to the question of whether we can make our own cables is yes.
For this reason in this article we will learn all the necessary information to be able to build our own cable, and in this way especially during these difficult times the cost balance may be slightly balanced.
Find the connection point
The first thing to do is find the Internet endpoint or service provider. The cable must then be routed to an adapter with a WAN cable outlet.
Use broadband modem: A broadband modem is a computer with WAN input and LAN output. The cables coming from the main connection point will be connected to their respective WAN inputs, and then they will be connected to the router using a LAN cable.
Configure the router: Then the modem's LAN cable must be connected to the LAN port that the router has, so the router will be responsible for distributing the signals and WiFi signals among the remaining LAN ports it has. However, this is not all: in addition to connecting the cables, the router must also be configured correctly to receive Internet signals.
Connecting the router cable to the computer: Afterwards, the network cable with the RJ-45 head should be connected from the router to the computer, and then the IP of the router should be used for configuration.
Cable types
Before starting to engage the network cable, it is vitally important to establish the type of network cable that we are going to need and to have the essential materials and tools for assembly and with the cable connection graphic as a guide. Basically, there are two types of cable connections, straight, also called bridges, and network cables called reverse, known as crossovers.
- First, the correct bridge is used to connect the computer's network card to a router, switch, or hub.
- The second type, crossover cable is generally used for connection between 2 routers, switches or hubs. This process is generally called cascading. Similarly, this type of cable should also be used to directly connect two computers via a network card and an RJ45 connector, without the use of routers, switches, or hubs.
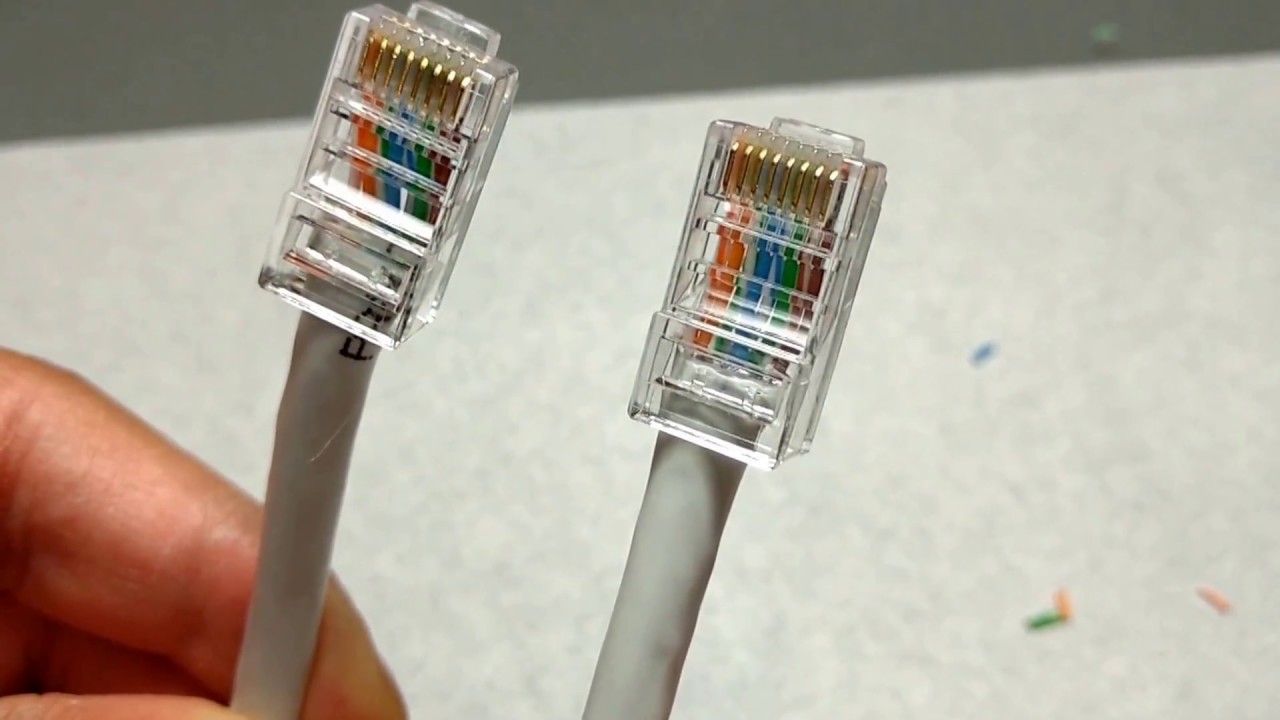
It should be noted that all network connections at least regular network connections are established through a connector called RJ45.
The RJ45 connector
Basically, the RJ45 connector is an interface which is generally used to intercept devices to form a computer network through the Ethernet protocol. These connectors are applied to the ends of the cable using a technique known as "Crimp" or "Crimp". Usually the cables used are of the UTP type categories 4, 5, 5e, 6 and 6 °. It should be noted that the RJ45 connectors have eight pins on each connector to provide the data connection.

Through these RJ45 connectors and UTP cables we can assemble crossover and straight network cables.
How to assemble a cable?
At this point we will know how to splice an Ethernet cable with the correct type of cable and connector, and we will also include a list of tools needed to run the cable.
The materials needed to assemble the network cable are the following:
- CAT 5 network cable (4 pairs of wires)
- Two RJ45 connectors
- Crimping tool
- Scissors
After purchasing all the necessary materials and implements, we can start splicing our own network cable.
Step 1:
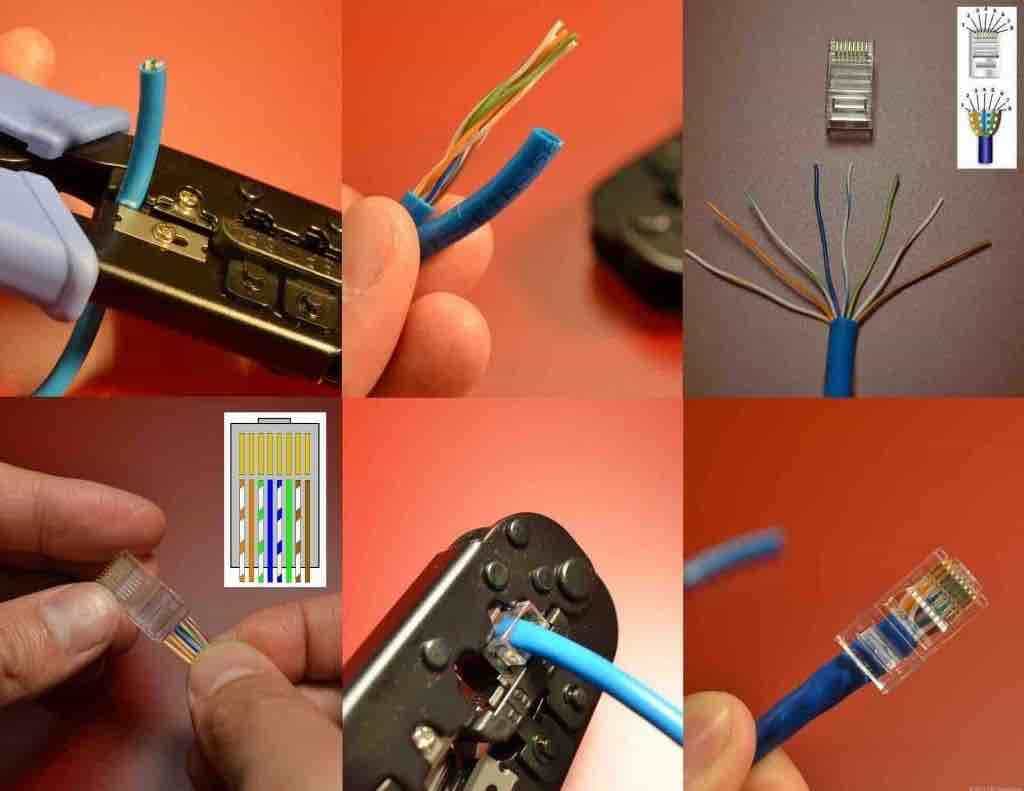
The first thing we must do is carefully strip the cables, that is, remove the cover so that we can see the cables inside. About 3 cm. It will be enough. This task can be done silently with a pair of scissors. It should be noted that at this point, we must be careful not to damage or damage the inner conductor of the cable.
Step 2:
After stripping the wire, we separate the inner conductors to make them work better. Here we can see that the conductors of the network cable are twisted into pairs. We untie and stretch them, trying to avoid bending and bending over. In other words, the straighter the disc, the easier the process will be.
Step 3:
At this time, we need to order the inner conductor according to the type of network cable to be assembled, that is, if we need a direct or bridge network cable, or a crossover, reverse or crossover cable. To do this, we must use the table in this post and follow the color code instructions.

Step 4:
After determining the type of network cable to be assembled, the inner conductor must be cut and inserted into the RJ45 connector. To do this, we must cut the excess cable, ideally, there is only about 1,5 cm left. Start at the edge of the cable jacket. It is also important to mention that all the internal conductors of the network cable are the same length to avoid problems when inserted into the RJ45 connector.
Step 5:
After completing the above work, we placed the RJ45 connectors and placed them in pairs, with pin 1 (that is, orange) on the left, with the connector facing down and the safety tab facing down. If the order is correct, insert the cable firmly into the RJ45 connector. It should be noted that to prevent the network cable from loosening, the best way is to cover part of the cable in the connector. This way we can make sure that the connector is firmly fixed.
Step 6:
After completing the inspection to check if everything is normal, that is, if the cables are in the correct connection position and if they have made good adjustments, it is time to insert the RJ45 connector into the hole of the crimping tool and press to seal the cable. Connector It should be noted that we must not press the tool with force at any time and not apply too little pressure.
On the one hand the RJ45 connector may be damaged, on the other hand it may be loose and destroy all the work we have just completed. For more detailed information, when we hear the “click” sound, the crimping of the RJ45 connector will be completed.
Step 7:
Finally, we repeat this process on the other end of the cable and then check if it works. If this is not the case it may be due to an error in the order of the wires, or the terminals are not in good contact with the wires. In this case it is better to start over.
Connection diagram:
To achieve the goal of assembling our own network cables, we reduced the instructions to just the two most common types of cables, namely the crossover network cables and the correct network cables, making the instructions easier to understand. Check out the color codes of the network cables. The basic difference between a crossover cable and a straight cable is the internal sequence of the cables in the connector, which have different colors on the inside.
Below these cables we will find the connection diagram and the color code of the EIA 568B standard, that is, the correct cable or jumper.
Purchased network cable vs armored network cable
There is no doubt that the network cables that we can assemble are a very interesting temptation especially in the economic field, but many people doubt if their performance and reliability can be compared with the network bought in computer stores. The answer is yes, as long as we take the time to assemble it, that is, if we have trouble connecting the inner conductor of the cable securely and the rest of the work is concentrated. This also applies to any type of cable that we want to build.
You must have verification of the materials purchased for the purpose in question. and that these are affordable for the budget, which will be the determinant of the useful life of the finished cable. If these two conditions are taken into account at the same time, the network cable we assemble can be used for several years, providing us with reliable service.
Knowing a little more about our articles, I invite you to continue reading the following link:Install Tails on USB

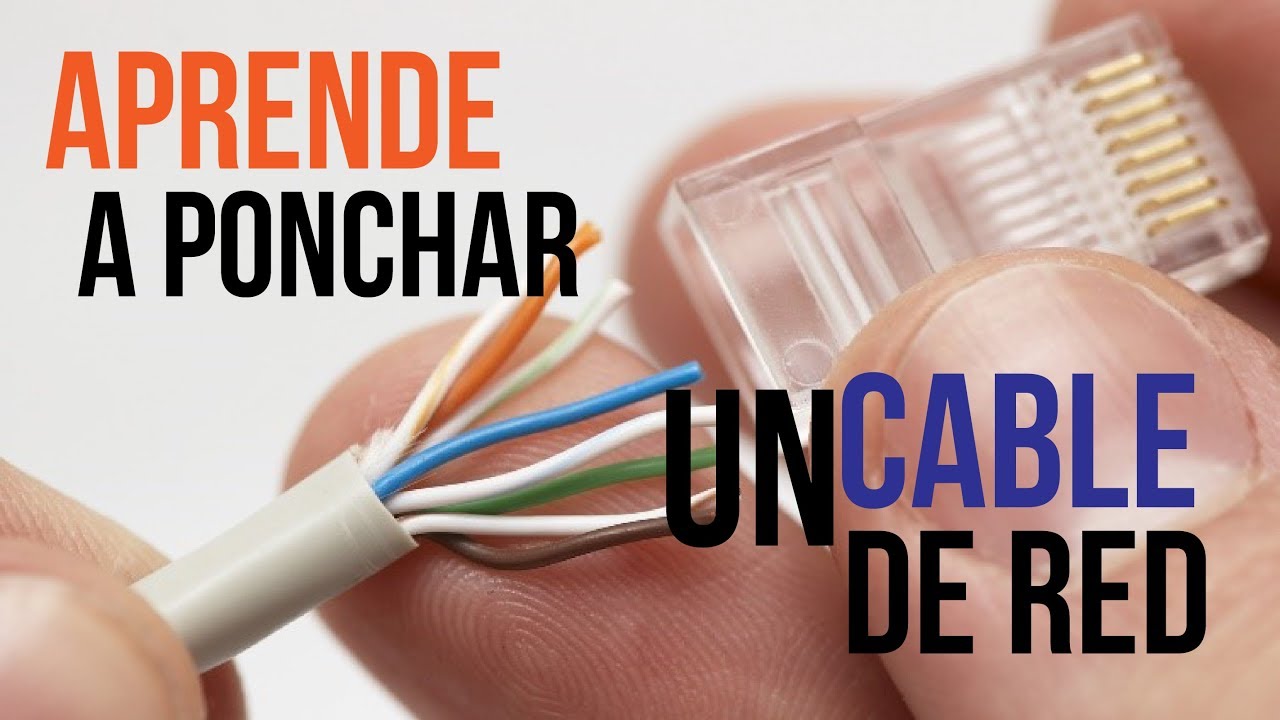
How to punch a UTP cable?
Unshielded twisted pair (UTP) cable is a connecting medium used in telecommunications, where two insulated electrical conductors are interlocked to eliminate interference from external sources and crosstalk from adjacent cables. The creator of this was Alexander Graham Bell.
Structured cable
Structured cabling is a pre-planned cabling system that is designed with network growth and reconfiguration in mind. The system includes cables, communication connectors, connectors, adapters, bridge panel systems, electronic components, etc. The world's most famous structured cabling standard is defined by EIA / TIA (Electronics / Telecommunications Industry Association) in the United States and specifies structured cabling in twisted-pair cables.
- First of all you must have the correct tools to do the job correctly.
- Material: RJ-45 connector (registered connector). UTP cable.
- Tool: Crimping tool for up to 4 pairs of UTP cable clamp knife.
- Procedure: Eliminate redundant or redundant endpoints. Remove the shell about 2,5 cm to expose the twisted pair.
- Avoid damaging the twisted pair coating. Separate each twisted pair and separate the braid.
- Order the threads according to the selected standard, as shown in the figure below.
- To help preserve the order of the selected standards and the order of subsequent insertion into the RJ45 connector, use the appropriate guide.
- Cut off excess cables so they can be inserted into the RJ45 connector and allow the connector to reach the outer jacket.
- Insert the cable in line into one of the RJ45 connectors, paying attention to the color sequence and pin location.
- Confirm that a small part of the housing is inside the connector.
- Confirm that the end of the cable touches the inner end of the connector.
- Use a crimping tool to assemble the connector.
Cable color codes
The basic difference between a crossover cable and a straight cable is the internal sequence of the cables in the connector, which have different colors on the inside. Under these cables, we will find the connection diagram and the color code of the EIA 568B standard, that is, the correct cable or jumper. CAT 5 straight, straight or jumper cable solution in accordance with 568B standard:
CAT 5 straight or straight jumper cable (EIA 568B)
| Connector # 1 | Connector # 2 |
| White / Orange | White / Orange |
| Orange / White | Orange / White |
| White green | White green |
| White blue | White blue |
| White blue | White blue |
| Green white | Green white |
| White Brown | White Brown |
| Brown white | Brown white |
Note: The first color of the wire pair is the main color of the wire, that is, in the blue / white wire, it is a blue wire with a white wire, and the white / blue wire is a white wire with a blue wire. CAT 5 solution for crossover, reverse, or crossover cables that meet the 568B standard:
CAT 5 Crossover, Reverse, or Crossover Cable (EIA 568B)
| Connector # 1 | Connector # 2 |
| White / Orange | White green |
| Orange / White | Green white |
| White green | White / Orange |
| White blue | White blue |
| White blue | White blue |
| Green white | Orange / White |
| White Brown | White Brown |
| Brown white | Brown white |
Tools used in connectorization
These connections that are going to be created must be carried out with great care since most of the problems of local area networks, once they enter their operating regime, are related to problems with the cables or connectors. If the transmission speed is good, then the higher quality should be in the cables or network connectors.
Before being used and built, the cables must be tested to certify that they meet the quality requirements and specifications required for the installation. If this is not fulfilled or the cables are not suitable they must be rejected. Depending on the type of cable and the connector, they will depend on a good construction of the same.
In addition to the connectorization tools for cables and connectors, other components are necessarily required, these are:
Heat shrinkable macaron:
It is a cape with different shapes and sizes. When it is fanned by a heat source (oven, flame, hot air, etc.), its reduction can reach approximately 50% of its original size, and it has a good bond to the surrounding bodies. After cooling, the layer retains its new shape.
Flanges:
They are plastic components, which can fix the cables to each other, or to the cabinet or drain where the cables are installed, thus fixing the cable path and preventing the mobility of the cables.
Identification labels:
They constitute an information system that is connected to each cable so that it is always identified
