You have an incognito and you wonder how configure display in Windows 10? Well don't worry! You will learn how to customize and adjust the desktop correctly. This new system offers many options with each new update.

Configure screen Windows 10
Adapting Windows 10 is very simple, the new Microsoft operating system offers many options and is updated every six months, usually adding new functions. In this sense, we can remember, for example, the new clear themes that we have already discussed in this article.
Something extremely simple for configure display in Windows 10 We will teach you little by little what you must do to adapt Windows 10 in a few minutes, and the truth is not complicated at all, we can assure you that it will help people with less experience.
Customize Windows 10: First Steps
To start customizing Windows 10, we have two methods:
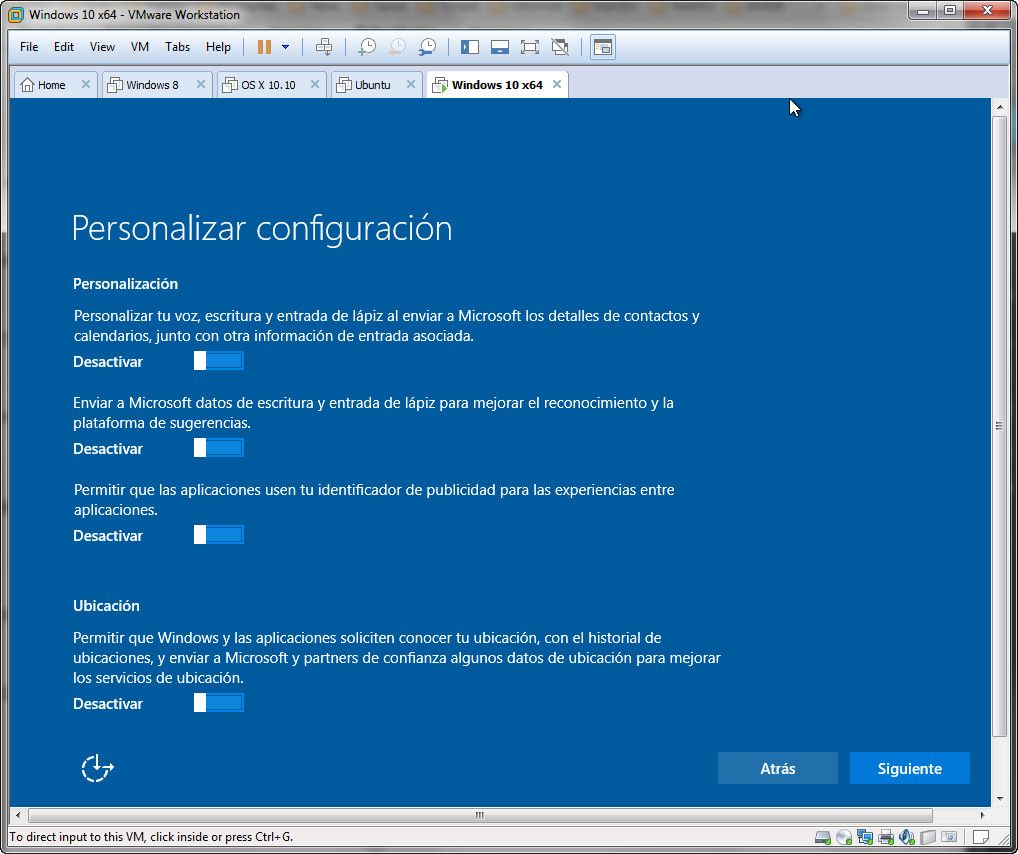
- We enter the Cortana search bar, enter “settings” and go to “personalization”.
- We can also right-click anywhere on the desktop background and select “customize”.
After completing this operation, we will offer you several possibilities represented by colors and we explain below:
- Red - All content related to the desktop background. We can choose static image or solid color, and we can also configure the presentation of the image, at the bottom we can configure how to stipulate the mosaic in a standard way, adjust or expand the display of the wallpaper.
- These last options are useful when the image we use does not match the native resolution of the monitor, although for best results we recommend using only wallpapers with the same resolution as the screen, for example, a Full HD screen requires an image of 1.920 x 1.080 pixels for best results.
- Black: basically these color concepts allow us to apply the colors that will be used in different parts of the operating system.
- White: lets us configure a different background than the one we usually see on the desktop and carry out certain system environments, and we can configure the waiting time.
- Gray - theme in it that we can more deeply customize the visual effects of the desktop, associate specific sounds and colors with specific wallpapers to create truly unique settings.
- Blue: change the task bar. You can activate this option and automatically position it, change its position, its size and lock it, and many other settings.
Customize desktop
For this personalized Windows 10 alternative, you need to right-click on any available space on the desktop and select “customize” from the menu. Open the "customization" window; it can also be done through the “start” menu – “settings” – “personalization”.
You can change the desktop background by clicking on the “background” option. In this section, you can set one of the common Windows 10 backgrounds, or you can choose your own image.
If you have a lot of wallpapers on your desktop, you can use them as a background in slideshow mode. To do this, select “presentation” from the “background” dropdown list below, then click the “browse” button; specify the path of the folder containing the images.
Options, here you can select a location and set the image change frequency. In the “color” division, you can easily change the background color, it will automatically change the color of the start menu and notification center.
The “lock screen” section allows you to configure the background screen that is displayed when the device is turned on.
To set any image as the background, simply click browse and select the image you want.
If you don't like the standard Windows 10 themes, click "get more themes from the store". You will arrive at the gallery, where you can find themes or wallpapers for all tastes, all these themes can be downloaded and installed on your device for free.
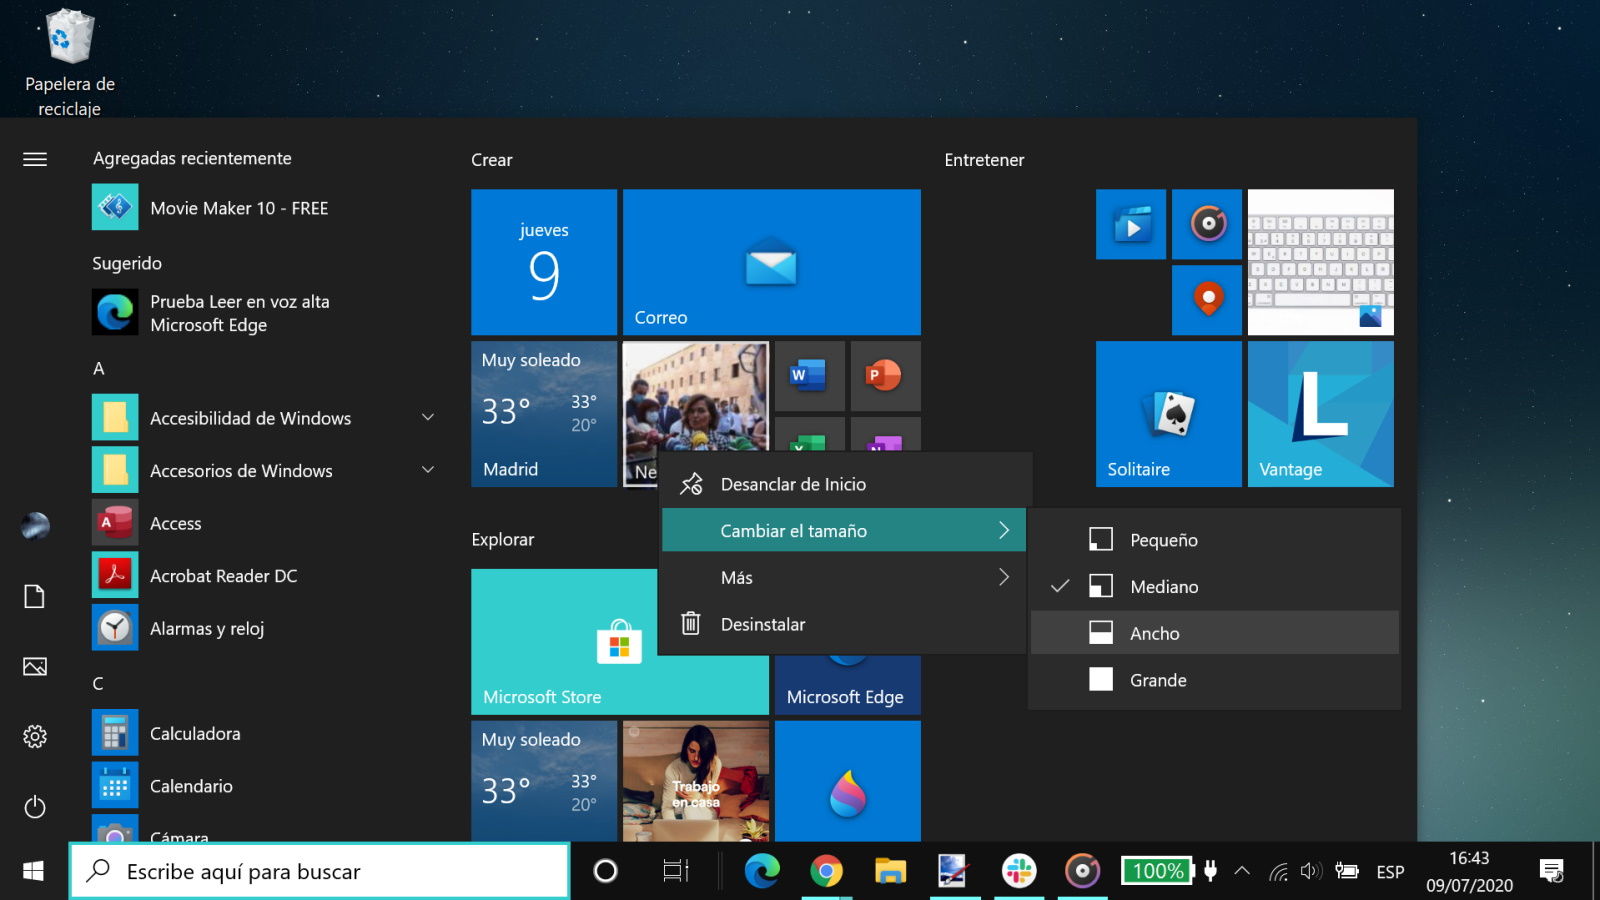
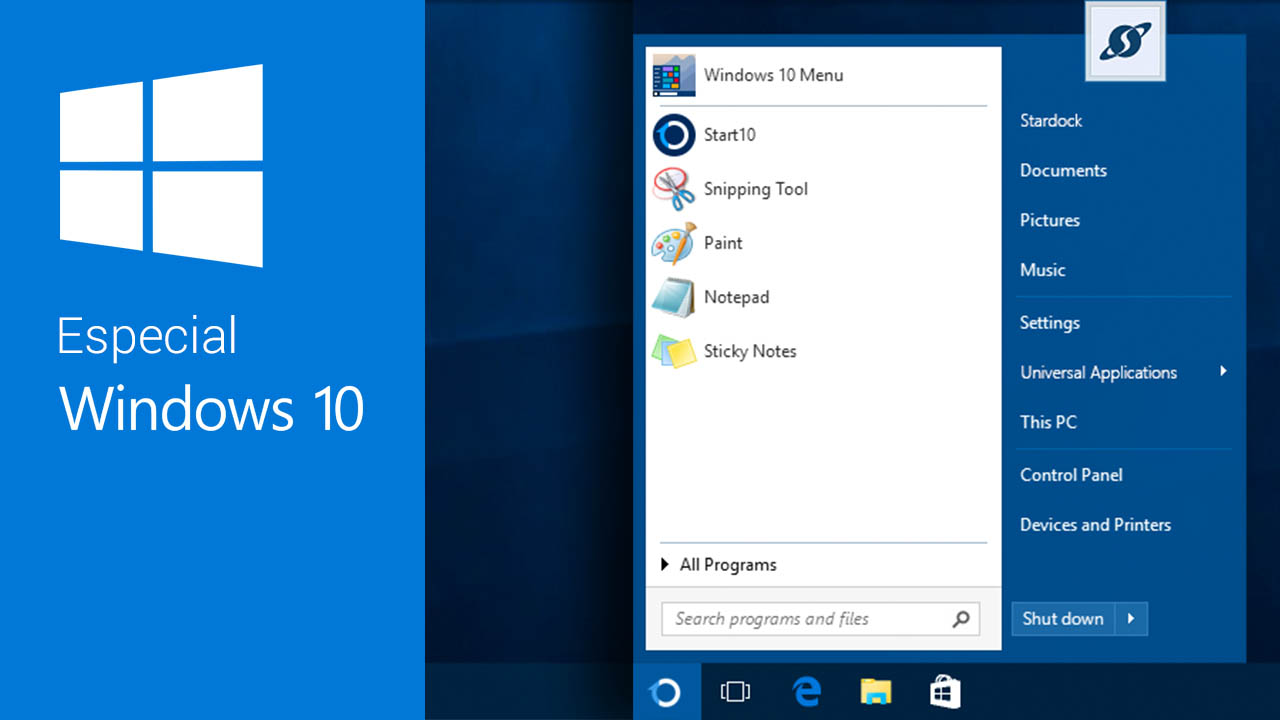
Start menu setting
In Windows 10, the "start" button reappears. The lack of this menu in previous versions of the operating system was its main disadvantage, the "start" menu in Windows 10 is a combination of the "start" of Windows 7 and the main screen of Windows 8.
Let's see how the new start menu works, it is easy since by default it is divided into two parts. The left side of the panel shows a list of installed applications, by clicking on any with the right mouse button, you can pin it to the start or the taskbar. These buttons also include: user, settings, shutdown or restart the computer.
On the right side of the "start" menu there are active tiles for different applications and shortcuts to launch programs. They are arranged by group, by right-clicking on them you can resize them, disable tab updates, remove them from the start menu or remove the program altogether.
You can find the basic settings from the start menu by entering start-custom settings-start, or by right-clicking on the desktop and selecting "customize" to "previous way".
In this division, you can enable/disable the display of most used and recently installed programs, if you own a touch screen, you can enable the “use full screen homepage” option.
They can choose what they want to be shown in the start menu, the settings are made, and the folder that will be shown at startup is clicked.
The start button has features of Windows 8.1. When you right-click on the “start” option, the user menu of the previous version of the operating system will be displayed, we recommend that you use this menu to quickly access certain settings.
If some of them don't like to use Windows 10 “start” menu, you can use “Classic Shell” program, similar utility, with “Classic Shell”, you can complete “start” menu as in Windows 7.
The button search the Internet and Windows
Firstly, the search area is one of the most important things you will see the moment you start using the software, it authorizes you to search for information on your computer and the Internet, and it can be found on the task bar next to the start menu.
The voice assistant can be configured through the search field (Cortana) almost always in some cases, this happens because a lot of space is needed on the taskbar.
We can say that there are people who do not like search fields, however, this field can be turned into a button or completely removed.
This can be done by right-clicking on the taskbar and selecting how to show search from the “Cortana” menu.

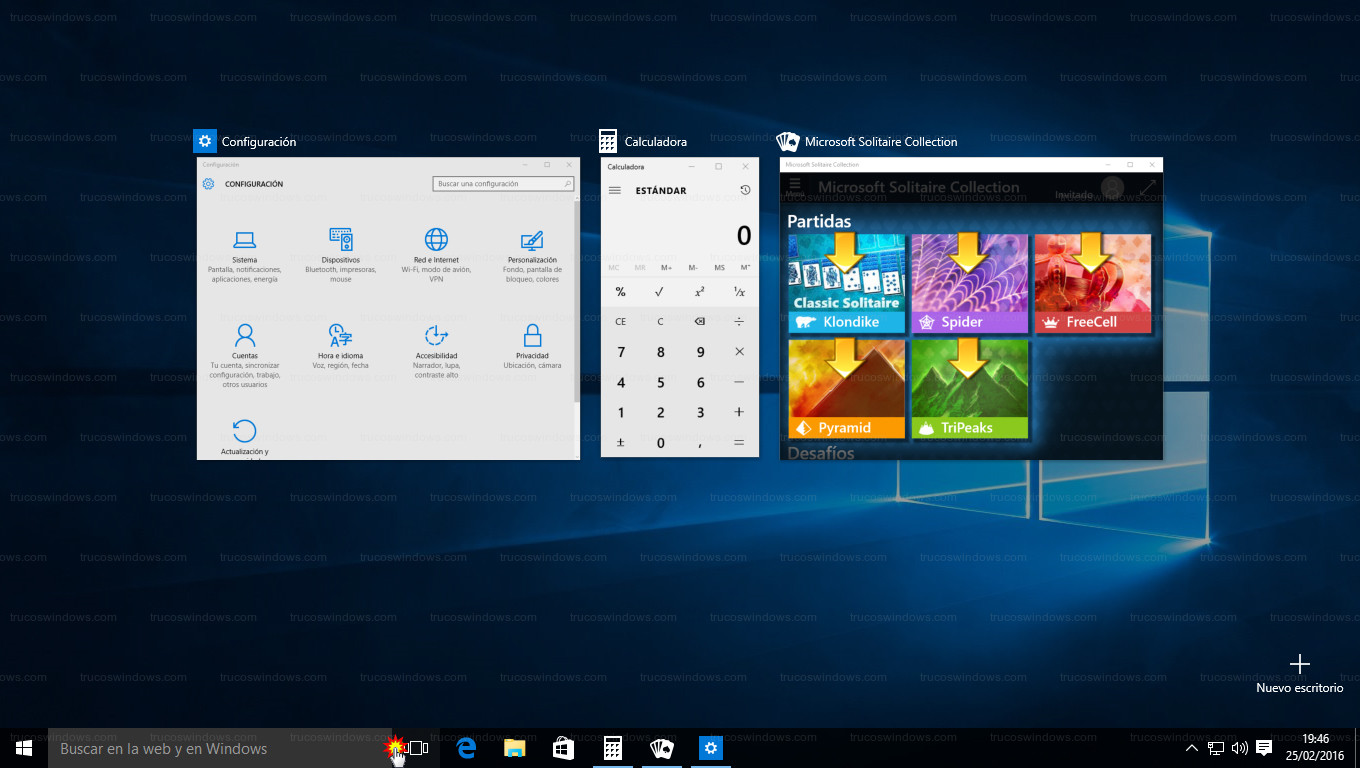
Windows 10 virtual desktops
Well speaking of this operating system, configure screen Windows 10 It is equipped with certain functions that are very useful, virtual desktops have been used in Mac OS X and Linux operating systems for several years.
What are the ideas of using virtual desktops? So you can improve performance, income and luxury. You can confront a virtual desktop with several windows.
We can say, in one of them, you can open Word documents, on the other hand, the calculator, another serious application multimedia players.
How to create virtual desktops and how to use them? To create or delete a virtual desktop, press the Win + Tab key combination.
Change the mouse pointer layout
Configure screen Windows 10 it also allows you to change the layout of the mouse pointer, what you need to do is press Windows + U keys on the keyboard at the same time, when you are done, you will go directly to the “accessibility” section in windows settings without having to navigate by any other menu, after entering inside, click on the “cursor and pointer size” option in the left column.
Entering the “cursor and pointer size” option, there will be multiple options, the first one is a bar, you can determine the thickness of the cursor (1) by sliding it sideways to make it more visible. You can then change the size of the pointer (2) by choosing one of the three sizes provided.
You can also use custom pointers downloaded from sites like DeviantArt. To do this, first download the pointers you need in C:\Windows Cursors, then go to Windows settings and go to "devices", then click on the "mouse (1)" part in the left column, inside , click the other mouse options (2) to open the mouse properties.
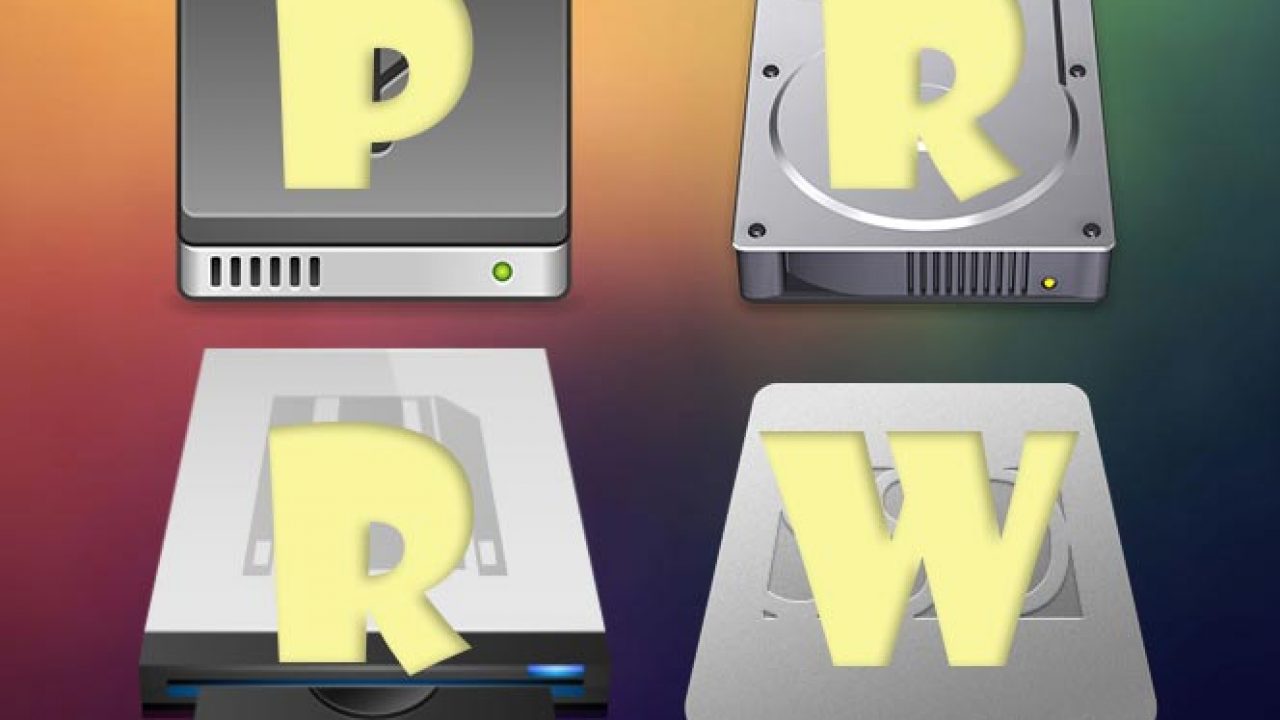
Change the letter of a hard drive
Although this is a minor customization, if you have multiple hard drives, you can change the drive letter for each drive. This means that C: can be anything, and you can put the first letter or another letter of the content on the secondary hard drive. To do this, open the “start” menu and type the word partition, and then click “create and format hard drive partition” in the search results that appear.
You will enter the “disk management” application, where you will have a complete list of all hard drives and partitions on your computer. Now you need to right-click on the drive whose letter you want to change, in the drop-down menu, click on the option to change the drive letter and path.
When you do this, you will see a window to change the drive letter and path. In it, press the “change” button to access another window where you will directly have a drop-down tab to select a specific letter for the drive, after choosing the favorite, click on “accept” in both windows and the changes will be applied .
Dear reader if you want to know more about how to configure read also: How to configure Windows 10 correctly?.