Discord – How to set up a verification system

In the guide we show you how to make a verification system on your Discord server?
How to make and install a verification system on Discord?
Creating a verification system on Discord is a simple but time-consuming process. So follow the steps below carefully.
Key Points⇓
Step-by-step actions:
-
- First, create a text channel, where the Discord verification process will take place.
-
- Now right click on the channel and select Edit the channel.
-
- From there go to Permissions and hit @everyone permission to view the channel and save changes.
-
- Now go to Server Settings and go to RolesFrom here, click default permissions.
-
- Now for the role of @everyone disable all permissions, except Read message history.
-
- Those who have not been verified will not be able to view all channels on the server except the verification channel.
Now you have to make a message with server rules and install The role of reaction in the verification channel for the verification system on your Discord server.
Once you've configured the roles and the Reaction Roles message, set the permissions you want each role to have on your server. Before you do this, make sure that the verification role you created on your server has permission to view all channels on your Discord server. If you want, you can hide the permission to view the verification channel because the user is already verified.
Member verification page and welcome page settings
-
- Now let's configure participant selection page.
-
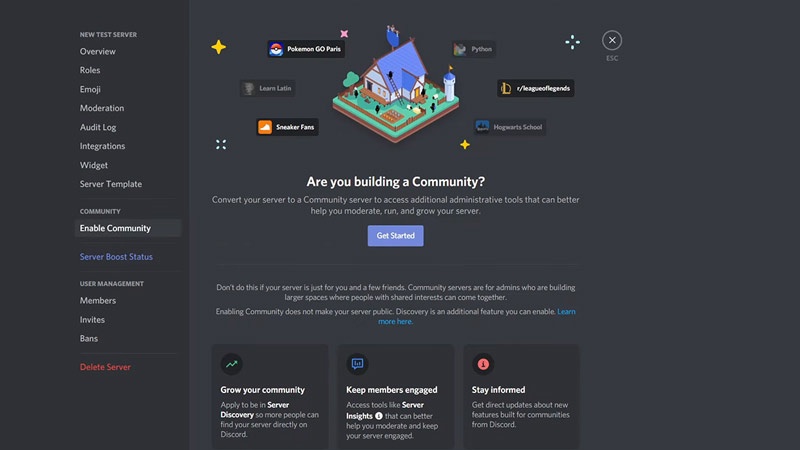
- To do this, go to server settings and click Enable Community.
-
- This opens a page with information about creating and managing a community on Discord.
-
- Click on the option "Start". and follow the steps.
-
- Once this process is complete, the server configuration will show Community card.
-
- Underneath there will be a Participant Selection option. Click on it. и Select the “Configure partner selection” button..
-
- Now follow the instructions and you will be able to configure the participant selection for your Discord server.
-
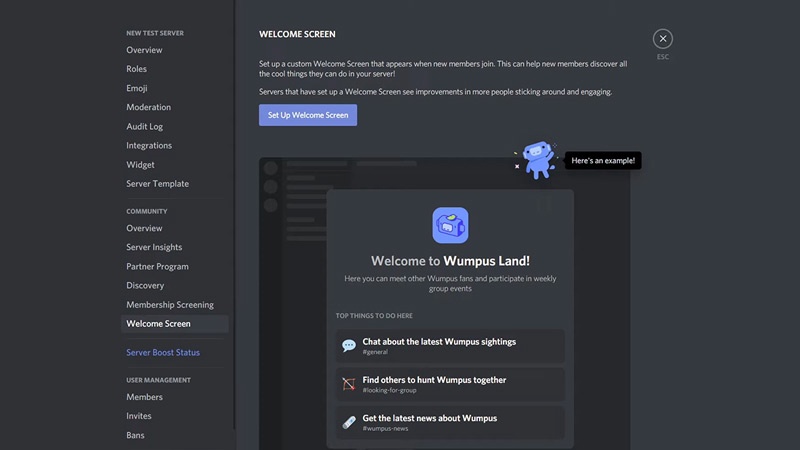
- Another option you can apply to your server is welcome screen.
-
- In the "Community" tab of the server settings you will find the welcome screen. Again, it will have its own set of instructions, following which you can create the splash screen.
-
- This step will complete the setup of the verification system on your Discord server.