You know How to connect to a network easily? We explain here each of the steps you must follow to achieve it satisfactorily! This procedure is extremely easy, we just have to do it through a router, usually with Wi-Fi. We use some cables and see which are the computers that we want to connect.
How to connect to a network?
Before entering the topic, let's first define the term Wifi, which is the element that will allow us to connect to an available network. Wifi is a wireless local area network that allows some devices to communicate to a communication network through an access point. It basically has a limited scope.
Now let's talk about how to connect to a network, which is really quite a simple and clear process. We have to need a router (preferably Wi-Fi), the corresponding cables, the computer to which we want to connect and wait very patiently. However, the steps to connect the computer to the network vary depending on the operating system we use. Usually it is a task that does not require much technicality and can be done by anyone. That is why in said article we will know how to do this clearly.
Router Configuration
Step 1: The first thing to do is connect the router to a power source and then turn it on.
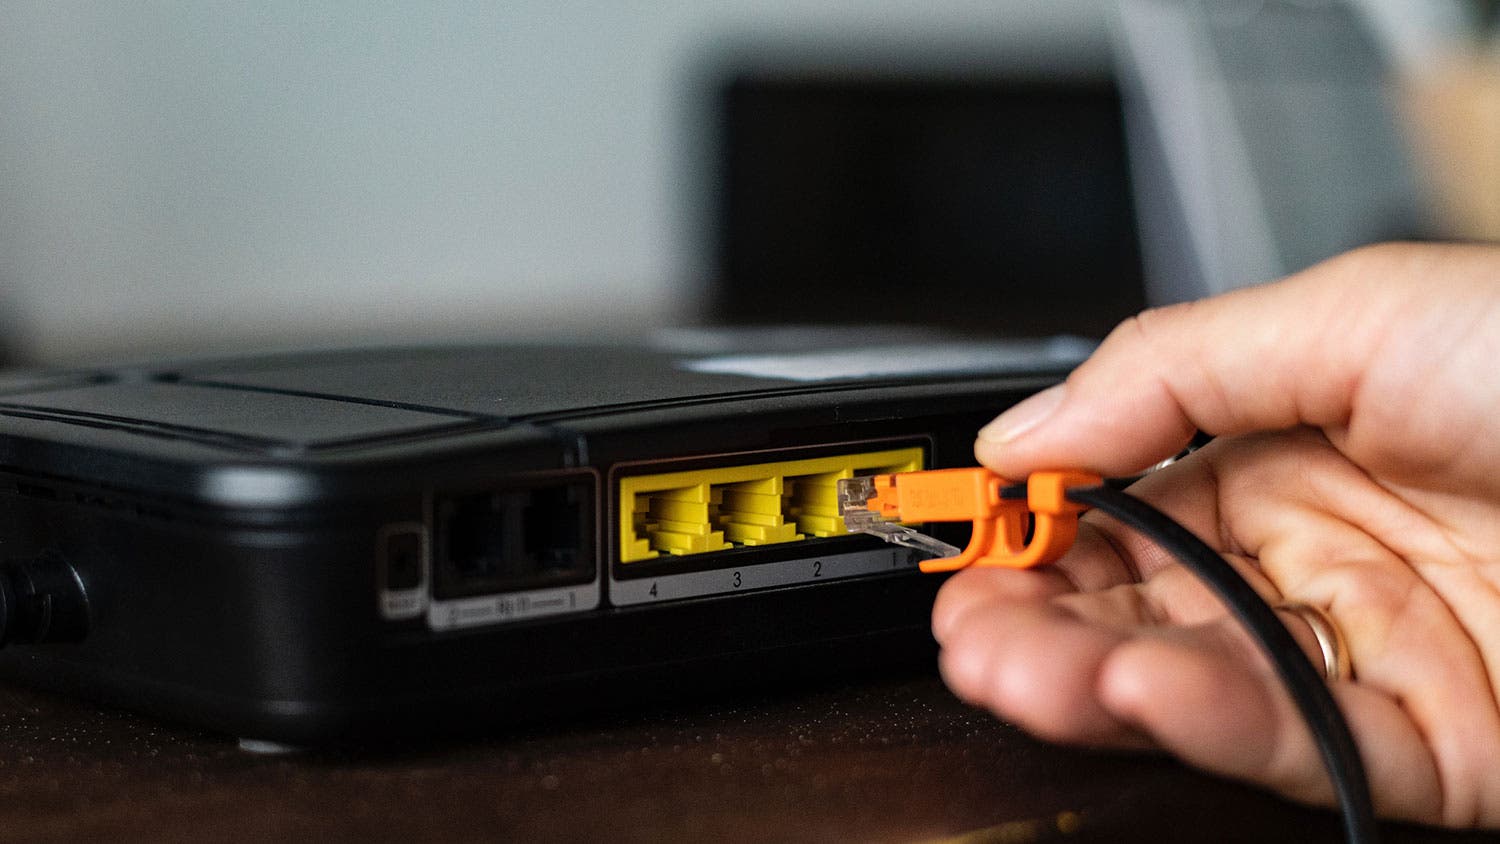
Step 2: we communicate the Internet cable to the router. At this stage we do not have to worry about the location of the connection, because all routers have a label to avoid confusion and problems. Now we connect the main cable to the port labeled as ADSL or DSL.
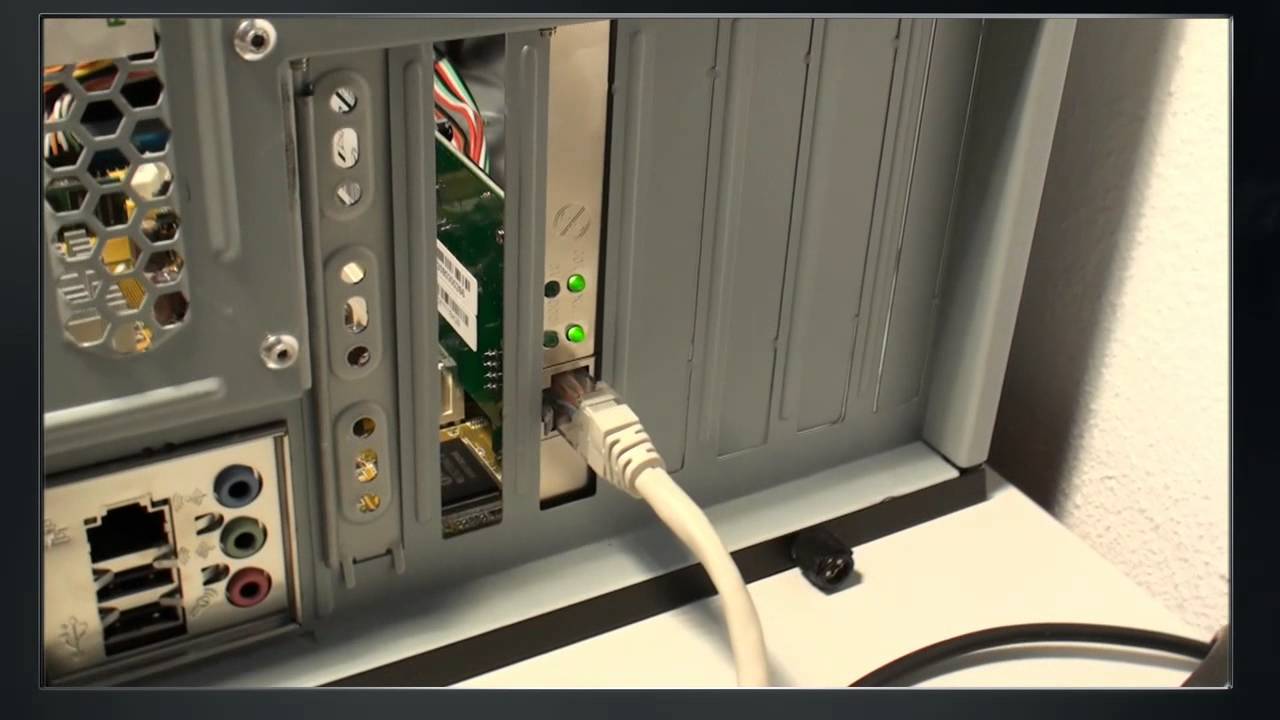
Step 3: we connect the Ethernet cable to the indicated port of the computer that is always located on the rear panel of the cabinet.
Step 4: we connect the other end of the cable to the «Ethernet» port of the router.
Laptops with wifi
If the laptop we use is equipped with a Wi-Fi connection, all we have to do is connect it to the network through the operating system's control panel. Of course, for this we will need a password that is always written in the manual or on the device itself. It should be noted that we must be aware of our security, we must change this password at the time of the first connection.
We will repeat these steps on all the computers that will be connected to the network, such as through cables and wirelessly.
Checking the network connection
To do this, click on the "Start" menu and then click on the red button if all computers are connected that means we have been successful.
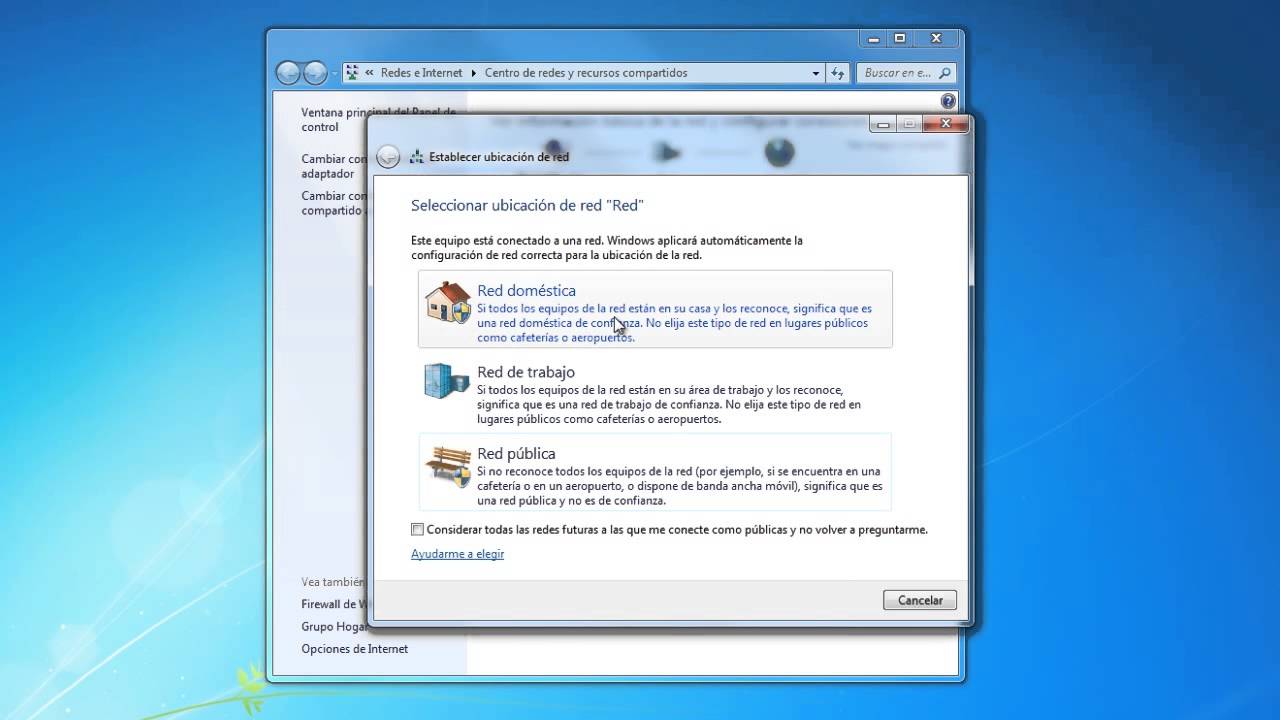
Wireless network configuration
- Step 1: locate the red button, which is usually in the lower right corner of the taskbar.
- Step 2: Locate the wireless network that corresponds to us and then click on connect.
- Step 3: We place the security key and we give it ok.
- From now on, we can start sharing documents and devices with other computers on the network.
Update firmware
For your network to be fine, it is basically updating the firmware since these updates correct bugs and errors in the system. They also generate more functions or also unlock certain things that are not used, so it is important to be very aware of updates from time to time. If there is verification of the router, look for the update on the Internet the original site to verify that it is your model and that's it.
Change Password
These can be hacked easily, they must be changed for their security, and one of the most important steps is to change these keys.
Access the router via IP address 192.168.1.1 then enter the username and password you currently have. As we have already said if you have not changed them they are always written in the manual or on the router label.
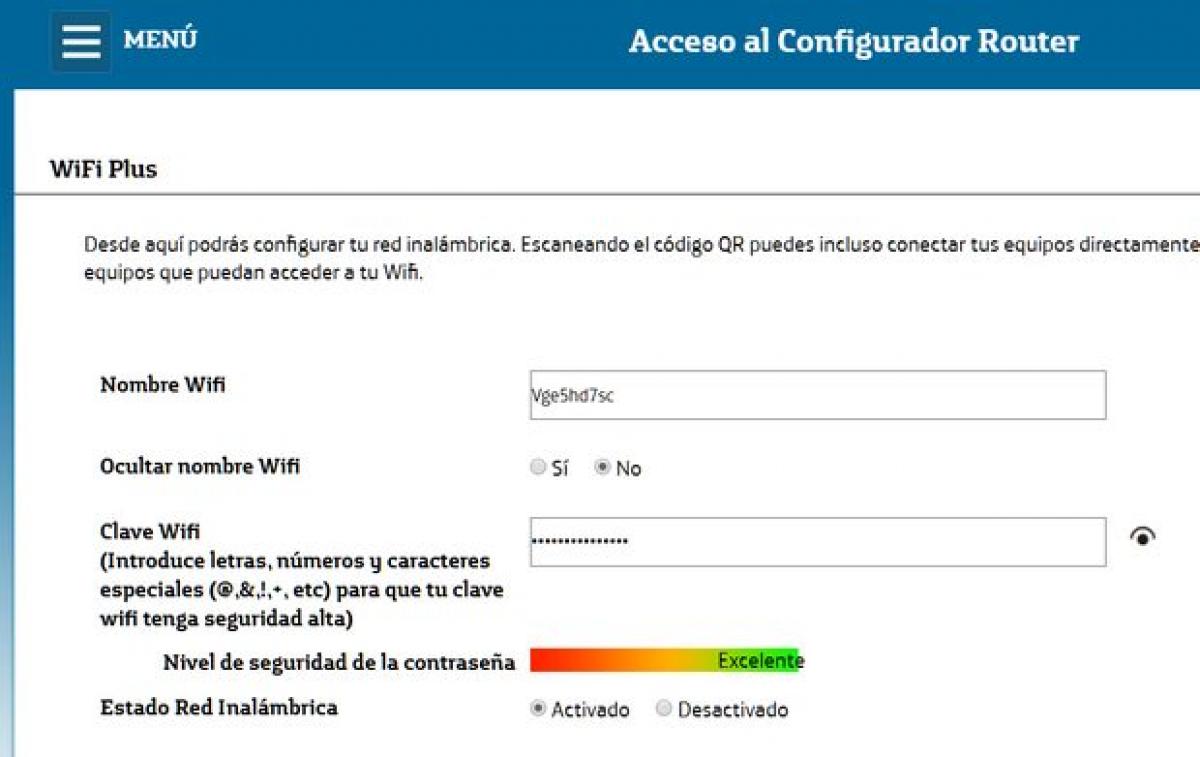
You will enter the router configuration menu each brand has its own menu and even calls the same thing with different names, so here we will give a general explanation. If you need complete instructions, go to the router manual or the user forum of the operator or brand of the router used.
Almost all menus on the router generally contain tabs for accessing quick or basic settings, as well as tabs for advanced settings. In general, the option to change the router password is usually in "Advanced" or "Administration", although, for example, for Movistar routers, there is a direct option in the menu:
Very easy enter the old password then enter the new one save the changes and resume the router. Then change the name and the Wi-Fi password, it is also important to do the same with this since they come by default with a very vulnerable password. Becoming more powerful when higher security is placed on them.
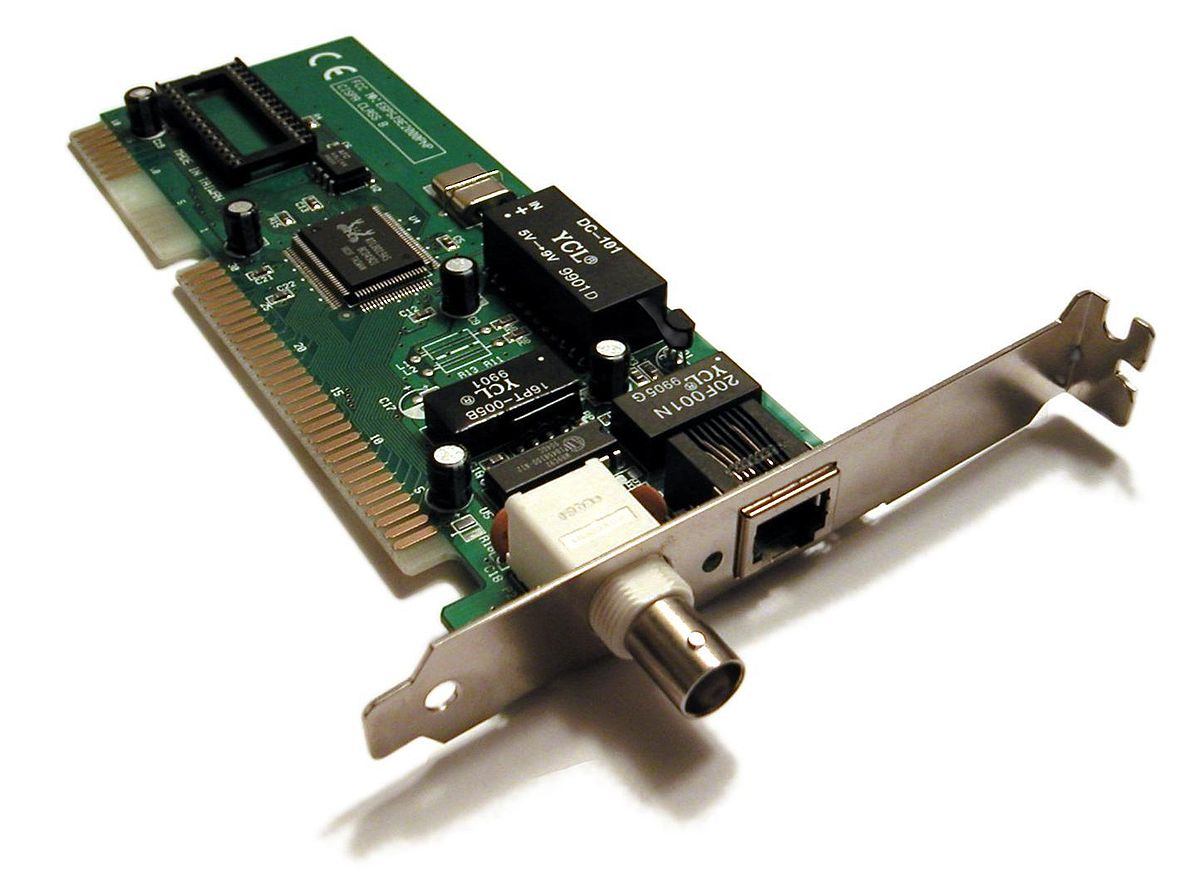
NIC
It is located inside your computer and allows you to capture the signal from the wireless router or connect it with a cable.
Set up a local network
Today many people have more than one computer in our home and sometimes we need to find the need to share or make several connections, share files, also print various things while at home.
For people who do not know what a local network is, this can be defined as a connection that is created between one or more computers. Which allows the exchange of information between them, and in a very easy way.
Local networks several ways:
- A LAN cable
- Wireless Wifi
- Mixed teams with each other
Advantages
Many advantages of having a network of this:
- Connection and feedback between several computers.
- Distribute the use of several peripherals between computers, this is when you can join or use several printers for all.
- Have data in different locations with its measurements
Local network: Requirements
Basically not much is needed
- Two computers with network card or wireless connection
- Cables a very specific model if it is wireless you do not need the cables.
- A device called a switch or hub
- Router with Internet connection
- Another router connected with multiple network outlets
How to connect the equipment
- If our router has enough free space we will connect the device directly to the router through a cable, and the router will allow us to access the Internet.
- If our router is wifi, the device can connect via wifi.
- If our team has more free ports than routers (owners generally only have 4 ports), we must use hubs or even better switches to connect the devices. We will use a cable to connect this switch to the router.
- The hybrid solution is to connect a few devices to the switch via the RJ45 cable and then connect the remaining devices to our Wifi router via Wi-Fi.
In short, we already have our local network. That is, all the computers come together in the same location, which will be a router or a set of router switches. Usually the carrier will provide us with a router configured to dynamically provide IP addresses. So each device we connect will be automatically assigned an IP address in the same range, and will be served by our router.
Anyway we can configure a fixed IP for the device. But for this we need to know the IP range served by the router, which is generally 192.168.1.XX and the router is 192.168.1.1. Similarly if the router has wifi function, it has been configured with SSID (or Wifi network name), and it has a password, we must use this password to connect the device via wifi.
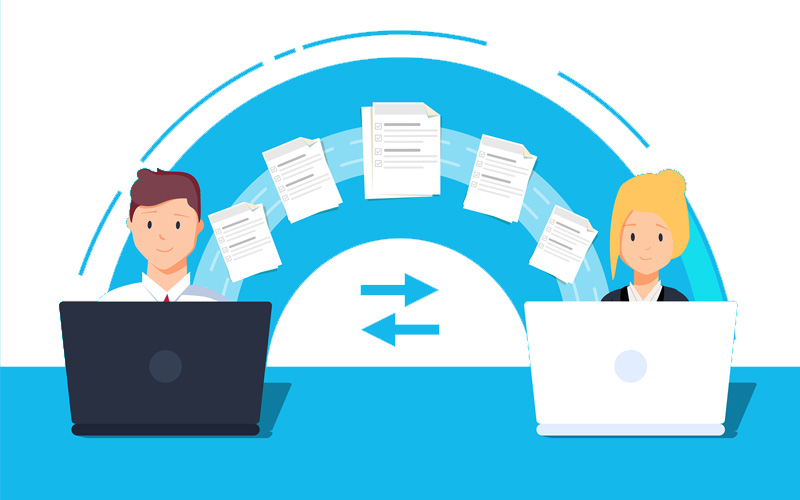
Share files
Well so far we have connected all the devices to the local network and we can now share Internet access through the router. But we still can't share files between teams because they will have to make the teams visible to each other. Depending on the operating system we have, this can be done in many ways.
All people use Windows. Let's first examine that we can see the network. If we cannot see the network, we must verify that the automatic network detection function is enabled in Windows.
Open where it says Network and Sharing Center. Then open control panel type network in the Start box, and then press enter, Open the window change advanced usage settings. In it, check the "Enable network discovery" and "Enable file sharing" options.
In order to use different versions of Windows on the local network, it is recommended to use the following items together with the necessary recommendations to place all computers in the same workgroup and assign a name to each computer, as it is related to identification by IP. It's easier for us to recognize it, that's why:
Right click on "My computer" and select the "Properties" option to open a new window with the computer settings. Go to the section "Configure computer name, domain and workgroup". We will click on the "Change settings" button to open a new window where we can configure these sections
Let's look at the version of the operating system first, there will be some differences in this configuration, but we already configured the network so that the devices see each other. We only select the folder that each computer wants to share and other users can see it. To do this, we must follow the following steps:
Go to the folder and select it. Then right click on it and select "Properties". The "Properties" window opens. Click the Share tab above. Then click on the button also called "Share" to select the user with whom you want to share the folder. As a local home network, it is easier to choose "All".
You can also use Uslar instead of the Share button (Advanced Sharing), which allows you to specify a different name for the shared folder, which will be the way other users see it.
The files that are on the network computer, let's go to the network PC in the file and then we will click on them to show the shared folder. I hope that with these very basic and easy instructions you can share a home network.
If you want to continue browsing and learning in detail from our articles go and visit the following link: How the internet works