There are those who say that a picture is worth a thousand words. Well here we will teach you how to improve the quality of an image in Photoshop to make it look its best.
How to improve the quality of an image in Photoshop?
Photoshop is, by default, the best application that exists for designing and enhancing any type of image. So it is to be expected that it offers various options when it comes to optimizing their quality. These are mainly found in the retouching tools gallery.
Retouching tools gallery
When Photoshop starts, on the left side of the screen we can see the tools gallery, which contains various options related to selecting, cropping, painting, browsing and editing images in general. One of those options is the retouching tools gallery, which has the following aids:
Spot Healing Brush: Ideal for removing blemishes and impurities in small areas of images. Does not require sampling.
Healing brush: Repairs imperfections based on samples or motifs in images.
Patch: Using a sample or motif, cover imperfections.
Red-eye brush: Red reflection caused by using the camera's flash disappears.
Clone stamp: Used to paint using a sample of the image.
Motif stamp: Uses a part of the image as a motif, which is used to paint the area to be retouched.
Eraser: Its main function is to erase pixels. In addition to restoring the image to a previous version.
Background Eraser: Erases entire regions of an image, making them transparent.
Magic erasures: Used to erase areas with uniform colors, making them transparent.
Blur: Decreases the effect produced by the hard edges of images.
Sharpen: Sharpens the soft edges of an image.
Smudge: Used to blur specific parts of an image.
Dodge: Used to lighten selected areas.
Burn: It is used to darken selected regions.
Sponge: Modifies the saturation level of a part of the image.
At this point, it is important to note that all the tools mentioned here are activated by just clicking on them.
In addition, to take samples we can use the command: Alt + Click if we are on Windows or Option + Click if it is Mac computers.
You may also like invert colors in Photoshop.
Image stabilization
Photoshop also has special functions for stabilizing images, specifically those that were captured at long distances, with slow shutter and no flash. Additionally, it reduces blur caused by camera shake.
To do this, after opening the image, we go to the Filter menu and within it, we select the Profiling option, then we click where it says Image Stabilizer. In this way, the program begins the identification of the cause of the blur and based on it, together with the analysis of the image in general, performs the extrapolation of the corrections.
The corrected image is then displayed in the Image Stabilizer dialog. From there we can examine the changes made and decide if we are satisfied with them.
Despite the advantage of this tool, it presents a limitation: stabilization is performed only on the area of the image that Photoshop deems necessary. However, it also has the solution for it, because if we go to the advanced panel, it is possible to add blur strokes suggestions.
In addition, we can manually select the areas where we want Photoshop to stabilize the image. To do this, we find the Blur Estimation tool in the Image Stabilizer dialog box, and we draw a selection box over the region that we want to improve. Photoshop automatically creates a blur trace on it and makes the appropriate corrections.
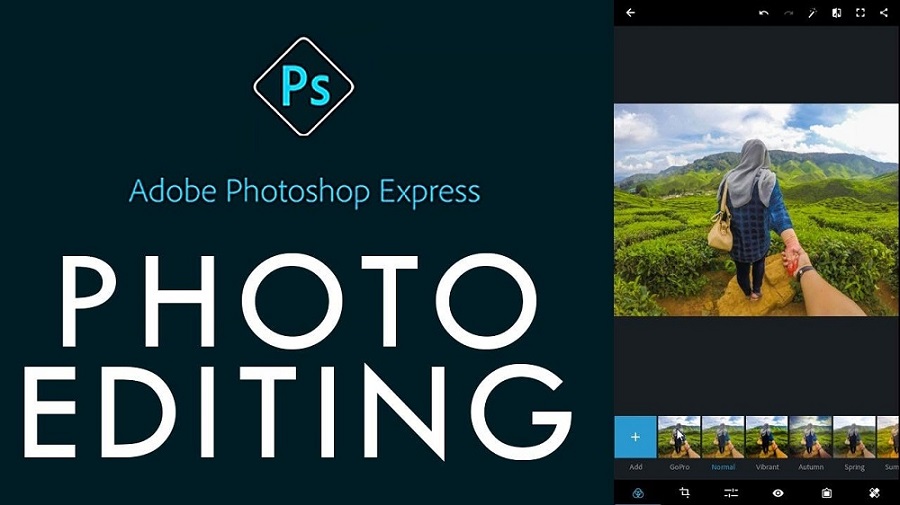
Retouching images online
Additionally, Photoshop allows online image editing in just a few steps using the Adobe Photoshop Express application, which does not need to be downloaded to the computer.
Once we have entered the tool's web page, we load the image in .JPG or .PNG format. Then we click on the regions of the image that we want to improve and the correction brush does the rest of the work.
Finally, we save the changes and download the new image.
Recommendation
In order not to lose the opportunity to resume editing the original image at any time we want, it is advisable to duplicate the background layer. To do this, we go to the Layer menu and select the Duplicate layer option.