Have you ever wanted to create your own application? In the following article we will give you a detailed explanation about how to make an app for iOS.

How to make an App for iOS?
Before starting to explain how to make an App for iOS, we want to start by clarifying: What exactly is iOS? Many people have a rough idea of what it is, but for simplicity, iOS is known as an operating system created by Apple for the purpose of using it on their devices. Due to this, the vast majority of phones and electronic devices of the Apple company use iOS as their main operating system, such as, for example: iPad, iPhone, iPad touch, among others.
iOS is known as the second most used and popular operating system after Android, for that reason, is that Apple does not let other phone manufacturers use its operating system. The main purpose of iOS was to be used on the iPhone in its first version of 2007, but then it was used on the iPad and iPod touch.
Every year, the main versions of iOS are presented, the most current being iOS 14.0.1, although as we just mentioned, next year there will be another version. All these new versions improve its security, its design, add new functions, improve performance, among others.
One of the tools that can be used to create iOS applications from scratch is called Xcode, therefore, below, we will teach you step by step how to make an App for iOS:
Create an iOS App with Xcode
One of the tools that Apple provides us to create applications is Xcode, which is aimed at various operating systems such as iOS, iPad, iPhone, Apple TV, among others.
We will start first by searching Google for the official Xcode page, we will simply write "Xcode" and go to the one that says Apple Developer, here you can get all the information you want about Xcode. Currently you will find the Xcode 12 version, which is still in the development stage (or also called the beta phase), but perhaps by the time you are reading this article, it was already released, so for this explanation we will work with the version that is found complete in the moment.
Why not work with a beta version? Why are you still in testing, in other words, it is still unstable: it may have bugs, it remains open to changes (the moment you learn to use it, it may have changes) and, moreover, the most current versions are aimed at people who already have previous knowledge in creating applications, and in this article, we seek to teach inexperienced people, in the same way, it can be quite frustrating to work with a tool that is not ready.
When you are on the official Xcode page, you will be able to have all the information you need about the new version of this tool, such as its design, its use and its improvements, but what interests us is to find the stable Xcode (that is, the version that is complete), therefore, we will go to the application store or better known as Play Store, which may well be included in your device or find it online.
Once in the App Store, we will write Xcode and you will notice that the version that is there is different from the one on the official page, this means that this is the version that is complete at this time. Download the tool and once this is done, we will open it.
The first thing that will appear is the "Welcome to Xcode" sign, and on the right side, there is a small box that will show the recent projects that we are working on, but since we are just starting, it will be empty, although we mention it so you know that you are just starting to use it, you can use this as a shortcut, along with other options.
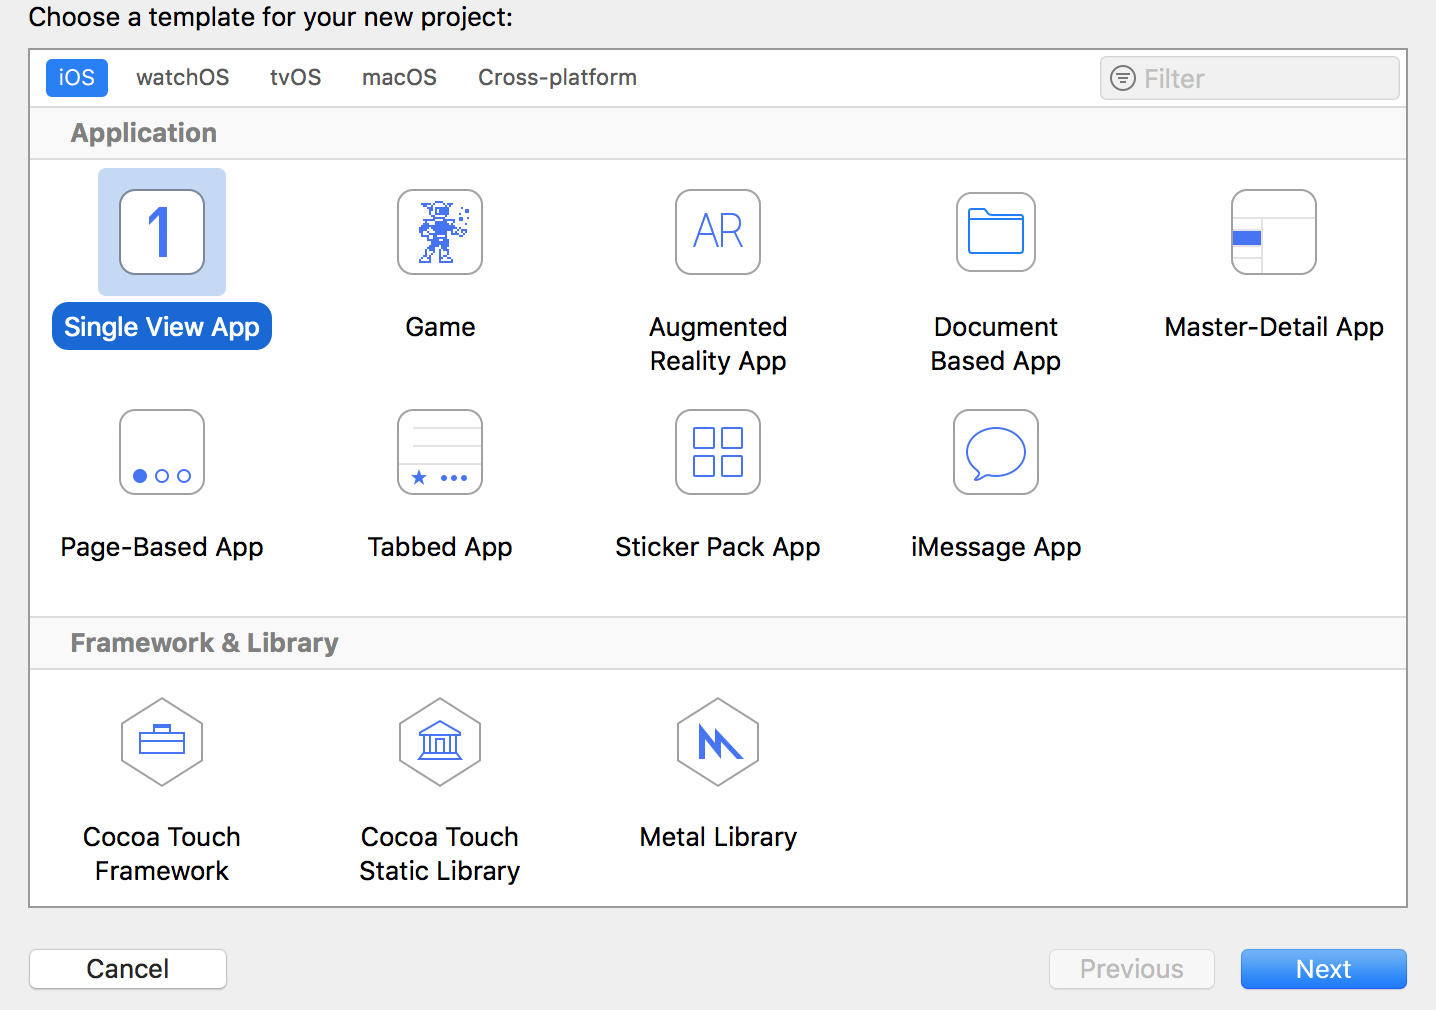
On the left side, we will see three options: «Create a version control repository», «Start with the Playground», but the ones we want to click on is the one that says: «Create a project with Xcode» (this is the second option) and once opened, we will start by choosing the operating system, this will be to determine the function of the application either for iPhone or iPad; Within this, we will see the different projects that are predesigned: Single View App, Game, Augmented Reality App, Document Bases App, Master-Detail App, Page-Based App, Tabbed App, Sticker Pack App and iMessage App.
Each one has a different objective for mobile devices, for example: there is one that is based on pagination and another that has Tabbed, which would be the bar with tabs at the bottom.
In this case we will use "Single View App", which is the most used of all, as well as being the most recommended for mobile device projects; This is the project that will be blank and will serve as the basis for us. With this, we can see the process from scratch developing an application for iOS; After selecting the operating system, we will begin with the following steps:
Step 1:
We will click on "Single View App" and then it will show us the options to create the project. What we will do next is to fill in the spaces with the necessary information to create our application:
Product Name: This is where we will give the name we want to our project.
Organization Name: This will be the name of your account as an Apple developer or the Apple development team in which you are included. Keep in mind that, to be a developer, you must invest money in a license which will give you the right to be an Apple developer that carries out projects and can carry them out for devices such as iPhone, in the same way, we can distribute this application that we are doing in the Apple store, otherwise we do not pay, we will have to settle for simulators.
Organization Identifier: This is to follow Apple's recommendations for the name of the reverse domain.
Bundle Identifier: This will be the combination of «Organization Identifier» and «Organization Name», in other words, it will combine the identifier with the name that you will assign to the organization.
Language: This means the programming language that we will use. Here we will find two options: Objective C, which is the language used by Apple before or Swift, which is the one after the aforementioned, which is constantly progressing, which is why it is more current and more progressive than there is, but for this case, we will select «Swift».
Under Language, there are three options which are: Use Core Data, which is the database that is available for iOS (either for logic or interface), Include Unit Test or Include UI Tests; but regarding this, We will not select any, we will simply click «Next» and continue with the next step.

Step 2:
In this step, we will select the folder where we want to save our project. Keep in mind that the tool provides us with options to create repositories, this for the different versions, take your time to organize where you will put it.
Step 3:
We will click on the Create option to have the project in Xcode. We will have many options in view that will help us when configuring the project.
On the left side we can see different files, this is where we will be developing, little by little, the application we are creating, but for now, we only have the basic files that are by default from the beginning. Some of these are for example:
Storyboard: This would be the graphic part. We can see a window, which will be the same as the one you will see on your iPhone, although it will be blank until you decide to customize it according to your objective.
Launch Screen: This is what the application shows us the moment we open it, this is known as "Splash Screen", and after it loads, we can see the "Main storyboard" understood.
In each of these files that we select, we will see on the right side everything that we can do within it. We recommend you keep the same structure that is pre-designed in order to have an order in what we are doing.
Throughout each of the files, we will have the specialization to which it refers and the options that we can change to make this application.
Note: Something interesting in this tool is that at the top there is a «Play» button, which, when you click it, we can mount the project and start it. There is the "Stop" button to stop it, the "Target" to select what we want to start the application and finally, we have the option to decide where we want to open the application, it is by default several Apple devices will appear.
In case you have a physical device previously connected to the computer, it will appear, for example, something like this: iPhone x -, in that space, there will be the name of your device, this is possible because you are the person in charge of developing this application.
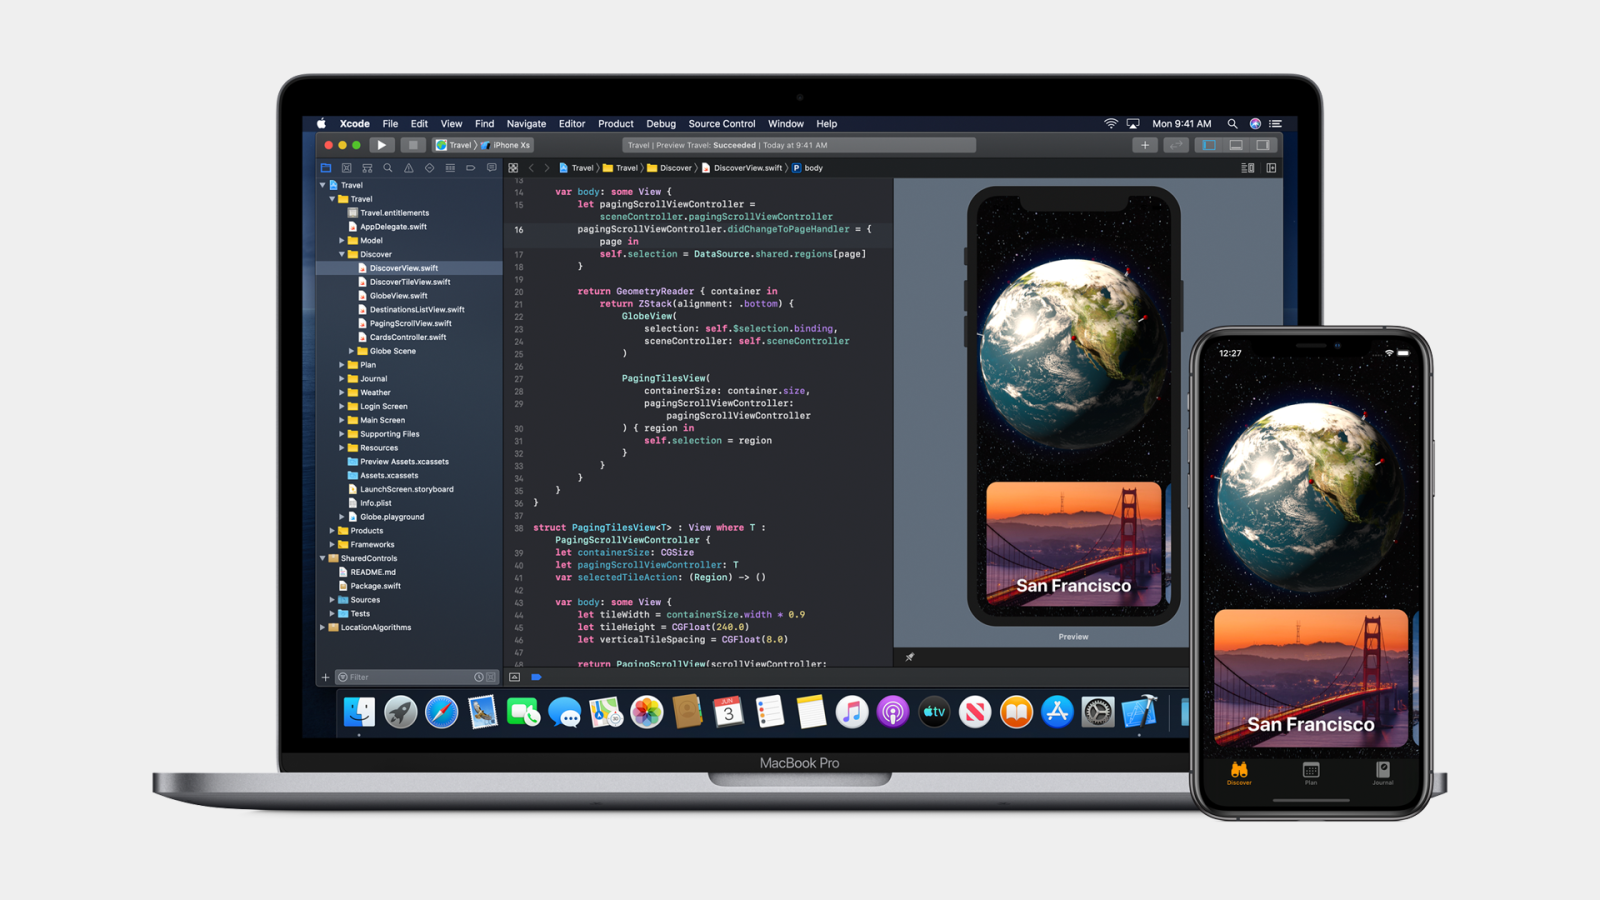
When you fill the options and give it Play, the project will begin to take shape little by little and when it is finished, the simulator will open, which will show you a preview of how your application would look on the Apple device you selected. This is very useful because you can see how your application would be on a device and you can make changes if necessary.
Step 4:
When we finish making all the configurations regarding the project, we can start by creating the design and function that our application will have. This will already be personal, you will have to make all the changes and specifications that were intended in the first place, in other words, this is where you will begin to develop the reason to create this application.
We recommend that when you do this, you add the option to add Push notifications or the option to add purchases within the application, this will give the user the option to invest money in your project.
Step 5:
Once you finish everything related to the development of the application, you will have to publish it. As we mentioned before, you must invest an amount of money for the license and be able to put it in the App Store.
For this, start by creating your account as a developer and sign up for Developer Apple, this is relatively inexpensive, if you take into account the amount of money that your application will generate. In addition to the fact that only one payment of $ 99 is made annually, you can publish more than one app.
Advantages of Xcode
Xcode is one of the tools that Apple has been working on for many years in order to offer us and facilitate the creation and development of applications aimed at operating systems, which is constantly being updated for users. This tool has multiple functions, such as:
- You can do anything for application development.
- It is one of the official iOS tools.
- For beginners, it is one of the most recommended tools.
A curious fact about this wonderful tool is that, in the Simulator option, we have the hardware options, this means that we can do things that could be done on a real physical device, such as: rotate it, which would show you that it would happen in the app when the phone was flipped (or rotated) or the phone crashed.
We also have the Debug option, here we can make changes such as: remove the frames from the simulator to be able to move it to any part of the screen and in this way, avoid that it interferes, as a result, while you are making changes in the application, you will be able to see how it affects in the simulator.
Now that you know the advantages of making an application with the Xcode tool, we invite you to use it as the first option and learn how to make an App for iOS. If you want to have some extra information about Xcode, we invite you to watch the following video:
Tips for creating Apps on iOS
If you want to learn how to make an App for iOS, you should take into account some tips or advice to facilitate this development process, for that reason, we will give you some below. These are not aimed at a specific audience, as they can be useful for both beginners and those who have some knowledge about programming:
SWIFT
Switf is one of the programming languages that Apple uses which aims to be used to create its applications, that is why it can be useful to have knowledge about this type of language to know how to make an App for iOS. Currently, there are some applications to learn everything related to this language, such as:
Swift Playground
This will help you learn this language in a didactic and simple way. It is so simple, that it is even aimed at a younger audience and as you progress, it will increase the difficulty.
One advantage is that it is completely free and is easily found on the Play Store. Another great advantage is that it gives you the option to export the project that you have started to Xcode and continue or finish designing it in this tool, after this, you can upload it directly to the App Store.
SWITF Playground on iPad
Using the Switf Playground tool on the iPad will facilitate the learning process because you can develop applications. In addition to the fact that the iPad has multiple functions that will help you learn little by little the meaning of the commands, functions, among others.
It will also be easy for you when learning to create your codes, since it uses basic and simple games to create these, but keep in mind that as you progress through the levels, this process will become more difficult, as, for example: object-oriented programming.
If you want to have a broader management of information regarding how to make an App for iOS, we recommend you read our article on Polymorphism in object-oriented programming.
Learn the different programming languages
To program, it is important that you first know their languages and know the differences they have, for example: the C ++ programming language is not the same as that used by Java. Each one has its characteristic function, they may have certain aspects in common but not for that, it turns out to be the same.
We invite you to read the following article: C ++ programming, to have knowledge about one of the most used programming languages.
Know the elements that are inside a code
You have to have knowledge about what is a constant, a variable, the different arrangements, the dictionary, among others. All this are elements that would become part of the code that we are doing.
Similarly, there are also operations, functions, loops, cycles, among others, which you should know. It is for this reason that creating an application is not as simple as expected, you must have the basics before doing it, because, in fact, this is simple if you compare it with object-oriented programming.
Get into reading
In the world of programming, there are millions of books and videos which will teach you step by step what you need to make your own application. In fact, even Apple has it totally free, which you can get in Apple Books, they will instruct you on how to make an App for iOS.