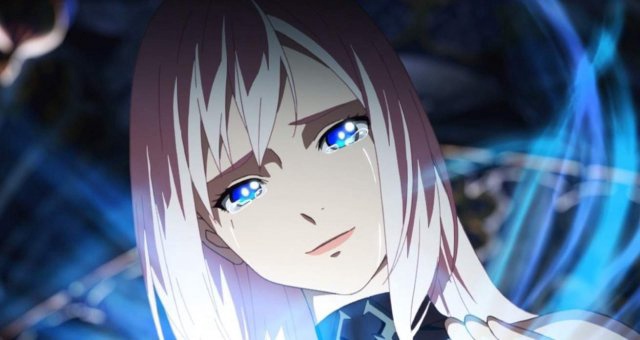
Tales of Arise – How to change the texture of the eyes and hair of the characters
This interesting and informative tutorial teaches you how to change the texture of a character's eyes and hair in Tales of Arise?
Tales of Arise – A tool to change the texture of a character's eyes and hair
Key points:

This is a texture injection tool that allows you to use your own images (such as regular dds/jpg/png files) for the eye and hair textures for each of the following characters: Alphen / Dohalim / Kisara / Law / Rinwell / Shionne.
Tales of Arise Texture Injector Tool Guide
Photos
To get started, you need to download the mods: ⇔ After downloading the mods, open the folder and extract the contents to Tales of AriseAriseBinariesWin64 (where the .exe is located).
How is it used?
The replacement textures are in the ReplacementTextures folder, separated by a folder for each character. Edit an existing texture swatch or replace it with your own with the same name.
If you want to change it to insert a different type of image (png, jpg), go to the characters ini folder.
(for example, ReplacementTexturesAlphenAlphenTextureOverride.ini)
And change the above ResourceReplaceTexture from .dds file to another image extension. Make sure the filename specified in ResourceReplaceTexture matches the name of the texture you want to insert.
How to disable texture replacement for certain characters:
Set it to embed dds textures similar to what the engine expects inside, although the end result is slightly different.
If you want the tool to not do any injection for a particular character (and to return the textures to normal), go to the d3dx.ini file, find the include statements under "exclude_recursive = DISABLED *" and comment out or delete all the line "include = ****" for the relevant character you want to return to normal.
This is what the include statements originally look like:
Originally Posted d3dx.ini:
include = ReplacementTexturesRinwellRinwellTextureOverride.ini
include = ReplacementTexturesShionneShionneTextureOverride.ini
includes
= ReplacementTexturesAlphenAlphenTextureOverride.ini
include = ReplacementTexturesLawTextureOverride.ini
include=ReplacementTextures
Notes
If you want to use this with the hud mod, move the include statements from the d3dx.ini file and put them in the same location in the d3dx.ini file as for the hud mod. Then cut/copy the entire ReplacementTextures folder and put it in the same place as the exe or ShaderFixes folder.
In order for the injected textures to display in the correct location, you may need to bring the in-game camera closer to the character's face so that it loads the textures with the highest LOD, which basically ignores the injection tool. This only needs to be done once after loading the game, as higher LOD versions usually remain active.
When you edit a texture and view it in-game, you may find that the image looks more washed out/bright than you expected. You want.
Built and tested on Nvidia hardware.
To remove
Delete the mod files manually or use the uninstall.bat file.
